Learn How to Knit in Eight Easy GIFs
Do you want to learn how to knit? Sure you do! And, hey, you're in luck; making a scarf is not as tough as you might think. Here's how to in a few easy steps.
I don't follow patterns, because I find the endless back-and-forth really meditative, and I don't like worrying whether I'm going to mess something up. I'm also a visual learner, so, when I've gone searching for video tutorials, I end up pausing and going over the same three-second clip forever. Scarves are essentially long rectangles—just rows and rows of the same thing, repeated.
I thought GIFs might simplify things for other folks who wanted to pick up a new productive habit, so I filmed myself doing all the moves over a rainy weekend in San Francisco and cut them up into these looping clips, just for you. These are just the basics, but should be enough to get you going.
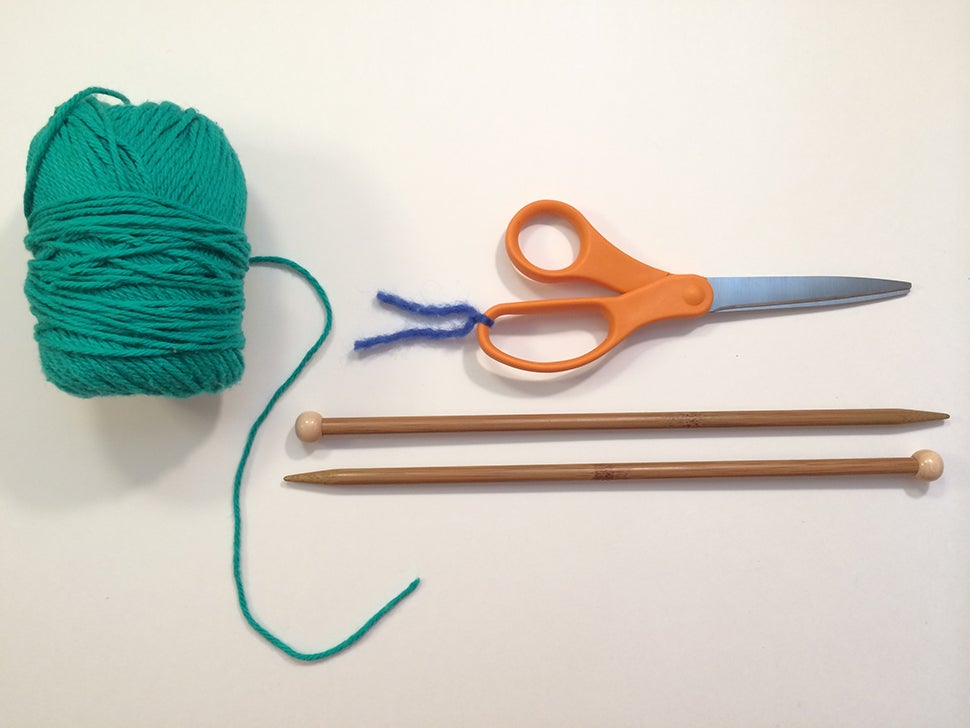
What you'll need:
- Yarn: You can pick up a cheapie acrylic skein to practice with, but I prefer something natural for the real deal. Wool is probably easiest to work with as it's usually got more give than cotton, but can be scratchy on sensitive skin. I used a ball of this cotton Sugar 'n Cream stuff, which you can order for a couple bucks in a variety of colors.
- Knitting needles: I'd recommend bamboo because you can take them on an airplane (as opposed to the metal) and they look and feel great. Again, I prefer something on the larger end of the scale, but the thinner ones are easier/less unwieldy for learning. You can get a pair for $2 on Amazon.
- Scissors
 SEXPAND
Step 1: Unwind
Start with the skein on your right side. Unspool a generous length of yarn—a couple feet is plenty. Basically, it has to be as long as you'd like your scarf to be wide.
Step 2: Tie the knot
Slip a needle through the open knot from the right.
Step 2: Casting on
Here's where you decide on the width of your scarf. Cast on as many stitches as you'd like, but I'd say anything over ten should be good to go (the thicker the needles and yarn, the less stitches you'll need). This maneuver looks complicated but is really just a muscle memory thing; once you get into the rhythm it's easy peasy. Make sure the snipped end of the yarn is always closer to you (around your thumb), and the skein side is further away (around your pointer).

Step 3: Knitting
Here we go. Don't wind or pull the yarn too tight or it will make things tough later on (and make sure you're wrapping the end attached to the skein). Do this motion for every stitch along the needle. Here's what the first two on the row will look like:
Here's what it will look like when you pull the last stitch off the needle.
That's literally it. You now know how to knit. Seriously! Keep repeating steps 3 and 4 over and over and over and over again until your scarf is as long as you'd like it to be.
Step 4: Casting off
You're almost done with your scarf; it's finally just the right length, and you want to finish things off. Knit two stitches onto the right needle, then pull the bottom one up and over the top.
Knit one more stitch onto the left needle, then pull the bottom one up and over the top. Keep doing this, one at a time, until you're down to a single stitch on the left needle. Grab your scissors.
Cut the skein end of the yarn and pull the end through final loop. I like to tie a knot at the end.
Et voila! Ready to wear.
BONUS!
Here's a quick tutorial on how to purl, and how to switch between that and the knit you just learned.
Step 3a: Purling
When you're knitting (above), the long piece of yarn starts from behind the right needle, and you direct that needle from front to back. Purling is the opposite: the long piece of yarn starts from in front of the right needle, and you direct the needle from back to front.
Step 3b: Knit to purl
The trick when you're swapping between knit and purl is not to forget to position the length of yarn where you need it to kick off each stitch: behind for knitting, in front for purling.
Step 3c: Purl to knit
Play around with different combos and make up weird patterns. Don't sweat it if you drop a stitch. Have fun!
And so you've got it, here's the whole vid for reference:
Special thanks to my pal Jake Swearingen for the gif guidance!